GG, Etc!
Our Blog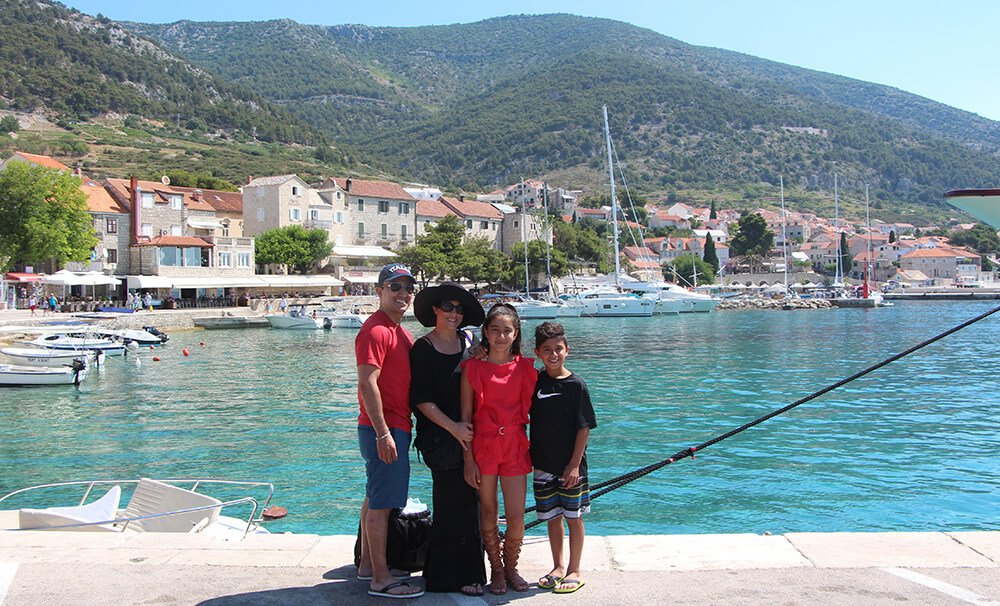
The Benitez Euro Adventures 2017 Part 3 – Croatia
Every trip forever changes me, as only fellow travelers can appreciate. Every sense is engaged. Dreams come true. More dreams are created. Bonds are made stronger. New bonds are formed. Memories are imprinted in our hearts and minds that we will treasure for eternity, no matter how much we had already seen before. I do not take one single bit of these adventures with my family for granted, and I share my photos and experiences as a way to bring you along with me as much as possible on my journey. I love to share my passion for these discoveries and it brings me immense joy to know that I may even inspire some of my friends and family to visit the places I have fallen in love with, as I then can relive my passion through them. read more
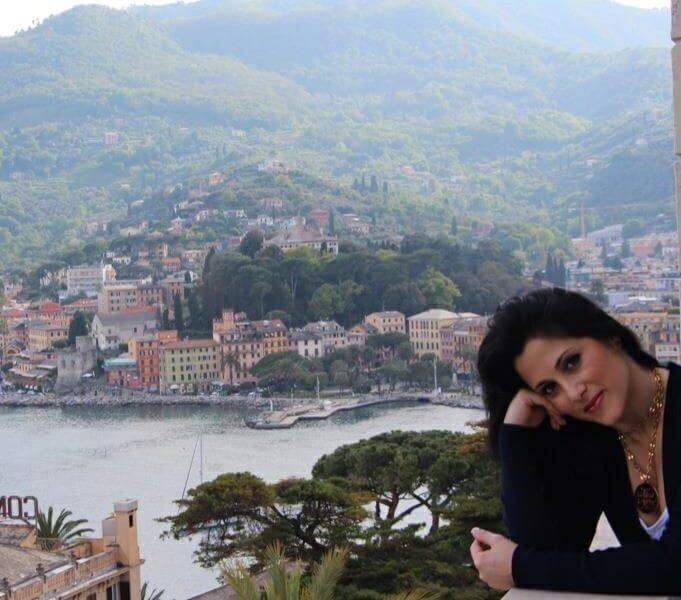
Meet GG Benitez of GG Benitez & Assoc. Public Relations in San Diego
My plan was to become an attorney. I did well in school growing up, and I always loved the art of debate, persuading people to agree with my angle of any situation. However, coming from a strict Middle Eastern family, I was set up to be married just after completing my freshman year at UCSD, and became pregnant with my first child just a few months later. I still stayed in school full time, while working and playing wife and mom, because education was not an option for me; it was a must. I wasn’t in a happy marriage, and while still a student, I knew I had to figure out another career path that I would be able to engage in quickly after graduating with my Bachelor’s Degree, in order to be able to go out on my own and support my daughter. read more

Daniella raises money to build home for Tijuana family
Is this really happening? I feel like I’m in shock and haven’t completely absorbed this week! What started as a school trip with Notre Dame Academy to build a home last year in Mexico with Build A Miracle, became an awakening inside of my daughter’s heart, leading to her heading up the building of a home this year, having enlisted her family and friends, coordinating it from start to finish without ANY pushing NOR any help from my husband nor myself, into a week of emotional interviews (The Del Mar Times, Good Morning America, CW News San Diego, CBS 8 News San Diego, and then HLN with Michaela Pereira) sharing her journey, her desire to continue having charity be part of her life, and hopefully inspiring others to join in on her campaign to help others. read more
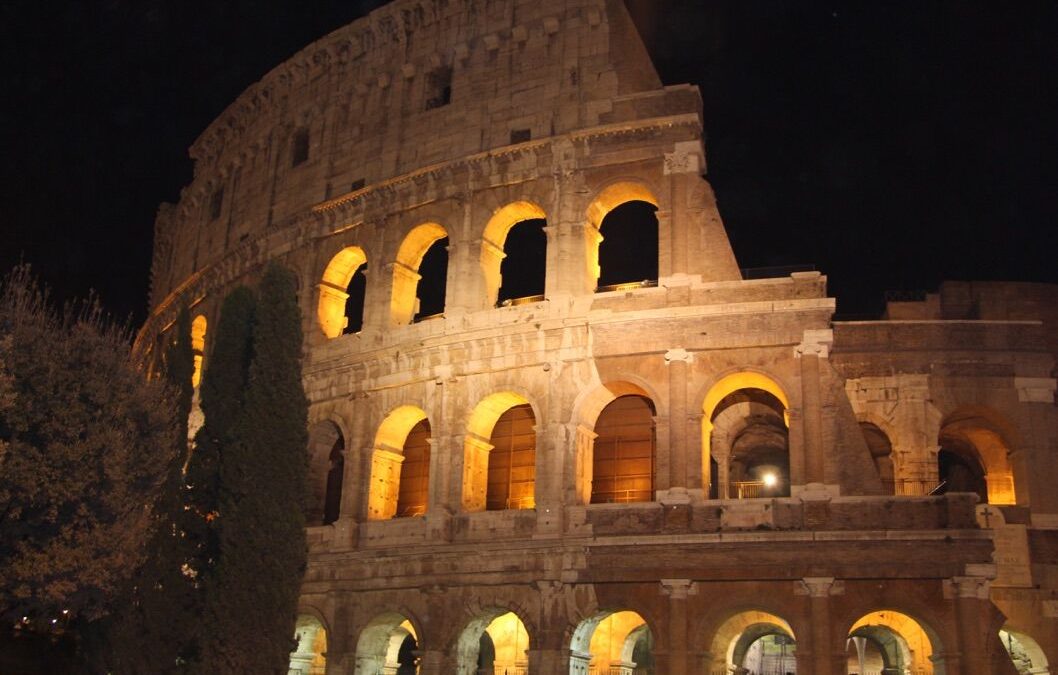
The Benitez Euro Adventures 2017 Part 1 – Italy (Rome, Assisi, Tivoli)
We arrived on June 16th to our AIRBNB apartment on Via Vittoria, adjacent to the Spanish Steps. We had stayed here just the summer before, and loved the location, the owners’ service and accessibility, the cleanliness, the size, and location, as in addition to The Spanish Steps being so nearby, The Trevi Fountain, The Pantheon, and Villa Borghese are just a few minutes away, with even The Piazza Venezia, The Forum and The Colosseum within walking distance. And, if you love to shop, the fanciest and trendiest designers are a mere 2 minutes away! read more
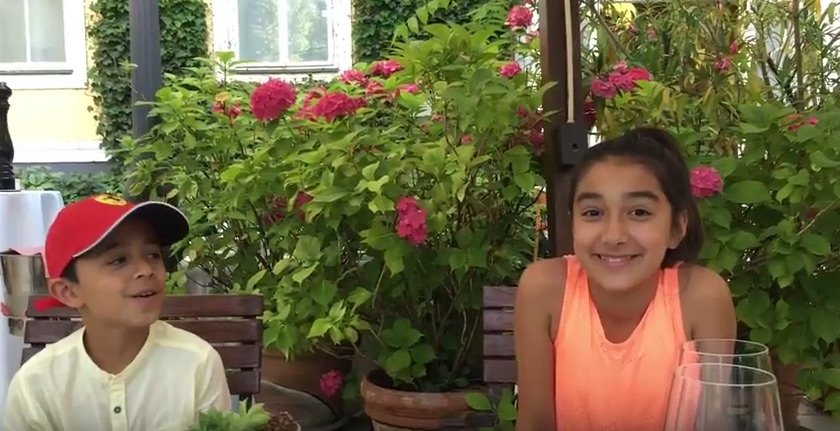
Daniella and Gabriel talk about their favorite parts of our Summer Travels to Italy and Croatia in the Summer of 2016
Daniella and Gabriel talk about their favorite parts of our Summer Travels to Italy and Croatia in the Summer of 2016 read more

5 Incredible Hotel Suites for Kids that Feel Like Stepping into a Movie
Some hotels go above and beyond to deliver trip-of-a-lifetime experiences that families will always remember. read more